DIY Litter Box Enclosures: Budget-Friendly Projects Guide
Guide To Affordable DIY Litter Box Enclosures Projects
Litter boxes, while essential for our furry friends, aren't exactly the most appealing pieces of decor. Thankfully, there are ways to hide them that won't hurt your budget.
Creating a homemade litter box enclosure is simpler than getting pricey pet furniture. Let's look at some easy projects to please both you and your cat.
The Benefits of DIY Litter Box Enclosures
Purchasing pet furniture might set you back a pretty penny. On the other hand, DIY projects usually cost less than $50. This is a big plus for your pocketbook.
Additionally, DIY projects give you total control over the design. You can synchronize it with your existing décor, select the exact size and choose features that suit your unique space.
Your cat will also thank you. Custom-built enclosures can keep odours at bay better than regular boxes and also provide some privacy, a bonus for many felines.
What Every Enclosure Should Have
Excellent ventilation is crucial. Inadequate airflow can lead to odour problems and cleaning difficulties. Aim to have multiple vents or openings.
Ease of access is vital for everyday upkeep. Routine litter changes will be necessary. Make sure you can comfortably reach every area.
The enclosure's size is more critical than you might think. Your cat will need space to move around freely. The structure should be at least 1.5 times the length of your cat.
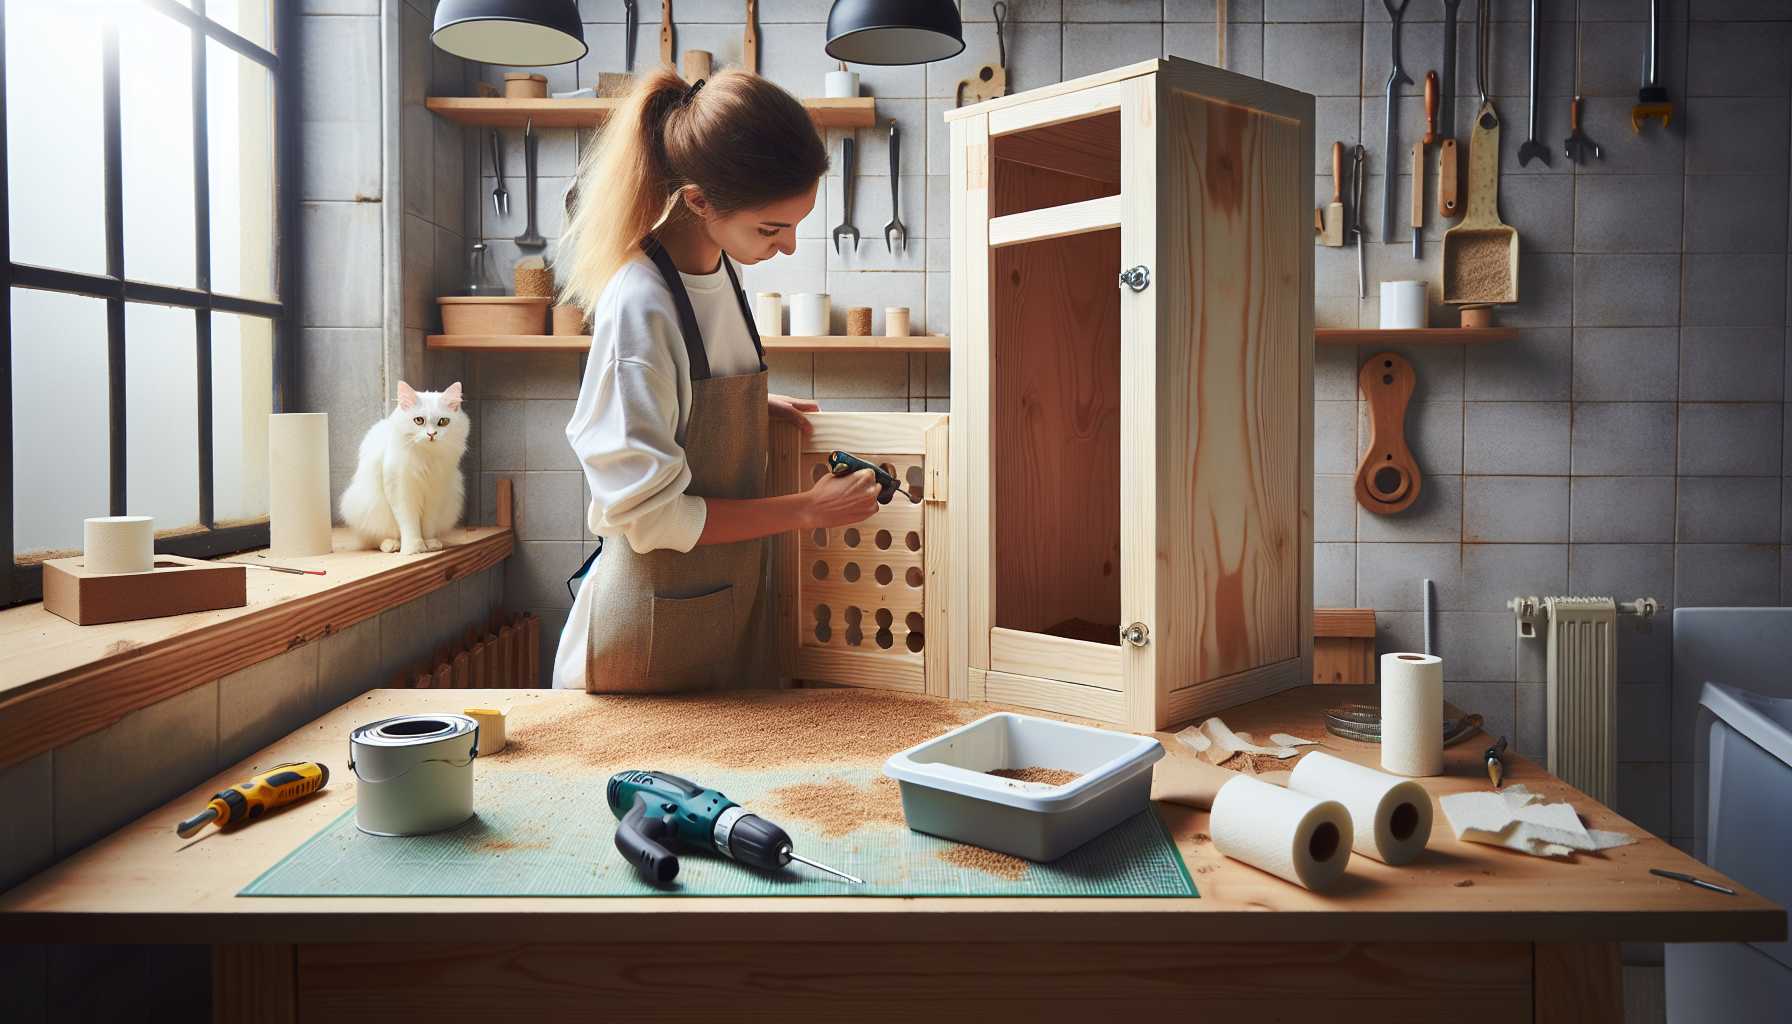
Project 1: Repurposed Cabinet Hideout
This project turns a run-down cabinet into a chic home for your cat's litter box. It's ideal for beginners, and you could complete it in a single weekend.
Materials you'll need: - An old cabinet or nightstand - A drill with a hole saw attachment - Sandpaper - Paint or stain - A small fan (optional)
Begin by removing the cabinet door and shelves. Smooth out any rough surfaces using sandpaper which will also facilitate the subsequent painting process.
Create ventilation holes in the back panel of the cabinet using a 2-inch hole saw. Space these holes around 6 inches apart.
If you want additional airflow, introduce a small computer fan. Battery-powered fans are a great option as they don't require any wiring.
Select paint or stain to suit your room aesthetics. Light hues can make the space appear bigger and cleaner.
Project 2: Wooden Crate Sanctuary
Wooden crates from craft stores are perfect for litter box enclosures. This project is surprisingly stylish and costs less than $30.
You'll need two large wooden crates and basic fixtures. Arranging them on top of one another will give you a two-story design: the litter box below and storage space above.
Keep the hardware unseen for a neat look by fastening the crates with wood screws from the inside.
Cut an entrance hole of about 8 inches in diameter in the front crate. Smooth the edges afterward to prevent injuries.
Affix a hinged top for effortless access. Craft store hinges are suitable for this purpose.
Project 3: Under Staircase Solution
Got some unused space under your stairs? This can be the perfect nook for a litter box. This project is a brilliant way to utilize generally underused space.
Install a curtain rod across the opening and add a decorative curtain to conceal the litter area. Opt for washable fabrics for ease of maintenance.
Introduce battery-operated LED lights inside. Motion sensors can be very convenient. They provide better visibility for your cat and ease your cleaning process.
You could also fit a small exhaust fan. Quiet bathroom fans available at hardware stores are perfect for this job.
Project 4: Decorative Bench Style
Craft a dual-function piece that serves as a seating area and a litter box hideaway. This idea works particularly well at entrances or mudrooms.
Construct a basic wooden frame with 2x4 lumber. Incorporate a cushioned hinged top. Your guests won't have a clue what's concealed beneath.
Incorporate a removable tray on the bottom. It'll simplify the deep cleaning process. Lining it with plastic enhances protection.
Add trimmings to match your existing furniture. Crown moulding and baseboards can help even inexpensive lumber appear high-end.
Clever Ventilation Solutions
Proper airflow naturally prevents odours. Passive ventilation typically works for most cases. Achieve a cross-ventilation system by installing openings on opposite sides.
For problematic areas, computer fans offer active ventilation. Opt for silent models particularly intended for bedrooms. USB-powered ones are straightforward to set up.
To absorb excess odours, use carbon filters. Affordable filter material is available in aquarium shops. An optimal result is attained when filters are replaced monthly.
Selecting Suitable Materials
Plywood is often suitable for most projects. It's reasonably priced and paints nicely. Keep away from particle boards in damp areas like basements.
Plastic storage boxes provide another economical option. While being easy to clean, they're also waterproof. Nevertheless, customizing for aesthetics might be more challenging.
For inexpensive and unique structures, consider reclaimed materials. Old furniture pieces can often be found at garage sales and mostly require minor modifications.
Maintenance Suggestions for Long-Term Success
Ensure to clean your enclosure weekly with a pet-safe disinfectant. This stops odour build-up and keeps everything neat. Remember to clean the ventilation openings regularly.
Check for wear and tear every month. Wood tends to soak in smells over a period. As and when required, sand and re-seal surfaces.
Refresh any fabric elements periodically. Washable covers tend to be superior to permanent upholstery. Have spare covers handy for quick changes.
Safety Precautions
Ensure all edges are smooth and devoid of splinters. This requires thorough sanding and applying suitable finishes. Your cat's safety should always be a priority.
Wherever possible, use pet-friendly materials. Some paints and stains may contain harmful chemicals. Opt for non-toxic alternatives.
Before assigning the enclosure to your cat permanently, ensure that your cat can move in and out comfortably. Be watchful for any signs of stress or avoidance.
Budget-Saving Shopping Advice
Begin your shopping spree with garage sales and thrift stores. You are bound to find some great deals on furniture. Most will need only minor adjustments.
Purchase materials during store offers. Home improvement stores regularly offer discounts on lumber and hardware. Make sure to buy during these times.
Think about borrowing tools from friends. Most of these projects require only simple equipment. Hiring expensive tools is often cheaper than buying them.
Solving Everyday Problems
If foul smells prevail despite good ventilation, inspect your choice of litter. Some brands control odour more effectively. Also, ensure you clean regularly.
Cats that avoid the new enclosure may need time to adjust. Initially, leave the old box close by. Gradually relocate it inside the enclosure in the coming days.
Noisy fans or moving parts can distress sensitive cats. Opt for very quiet components. Ensure everything is tested before the final setup.
Final Suggestions
Creating DIY litter box enclosures doesn't necessitate professional carpentry skills. Begin with straightforward projects and gradually build up confidence. Your cat will enjoy the solitude, and you'll love the improved aesthetics.
It's important to remember that no two cats are the same. What works for one might not work for another. Be patient and open to modifications.
The best enclosure is one that satisfies both you and your cat. Prioritize functionality, then bring in the decorative aspects. With a dash of imagination and dedication, you are guaranteed to build something practical and appealing.
Your home will not only look better and smell fresher but will also be more organized. That's a win-win that definitely makes the DIY venture absolutely worthwhile.